Active Incident Queue
| Feature Access | JMS > Alternative Corrections > Incident > Active Incident Queue |
| JMS > Facility > Incident > Active Incident Queue | |
| JMS > Classify > Incident > Active Incident Queue | |
| Configuration | Admin > System > Lookup (values for ~20 incident-related lists) |
Introduction
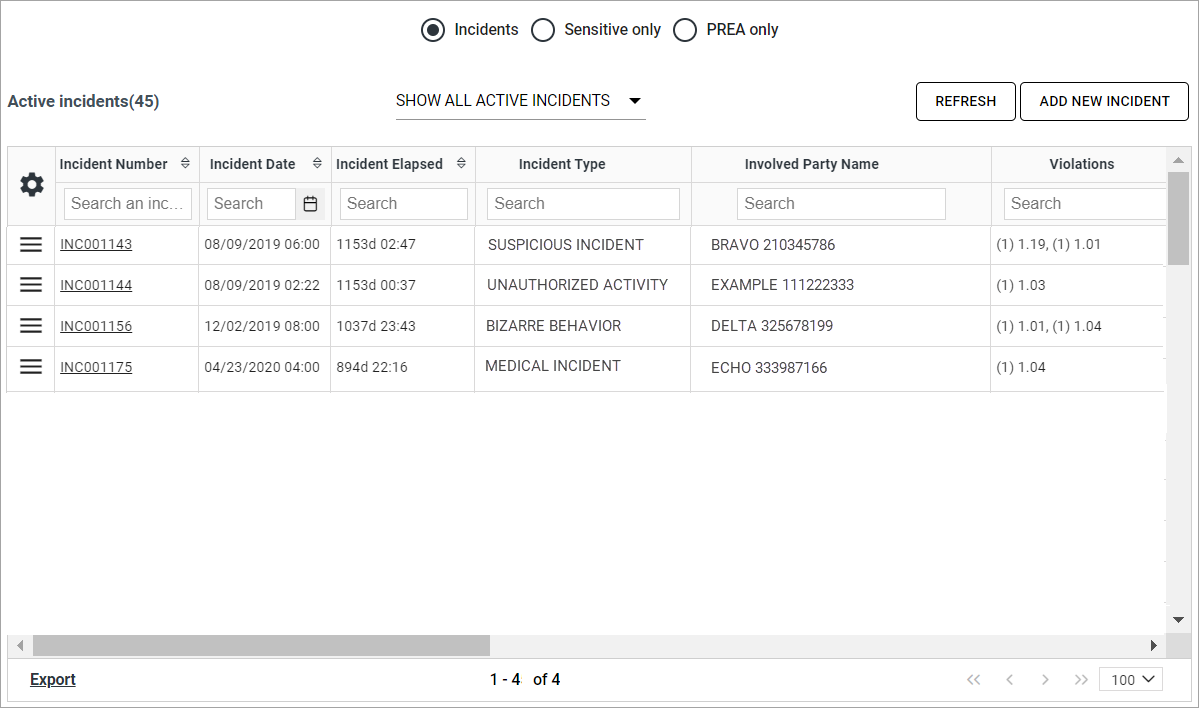
The Active Incident Queue page displays all active incidents associated with inmates in the current facility. Incidents are in ascending order by Incident Date/Time. From this page new incident report can be created and existing incidents opened and processed.
To access the Active Incident Queue, in the navigation panel, click the Expand ( ) button to expand the Facility or Classify and Incident options and select Active Incident Queue. The Active Incident Queue page displays.
-
Select the Sensitive only or PREA only radio buttons to filter the list to display only those incidents. Default is Incidents, which displays all incidents.
-
Select SHOW MY ACTIVE INCIDENTS from the drop-down list to filter the list to only incidents for which the current user is the Reporting Officer. Default is SHOW ALL ACTIVE INCIDENTS which displays incidents regardless of Reporting Officer.

Create Incident Report
-
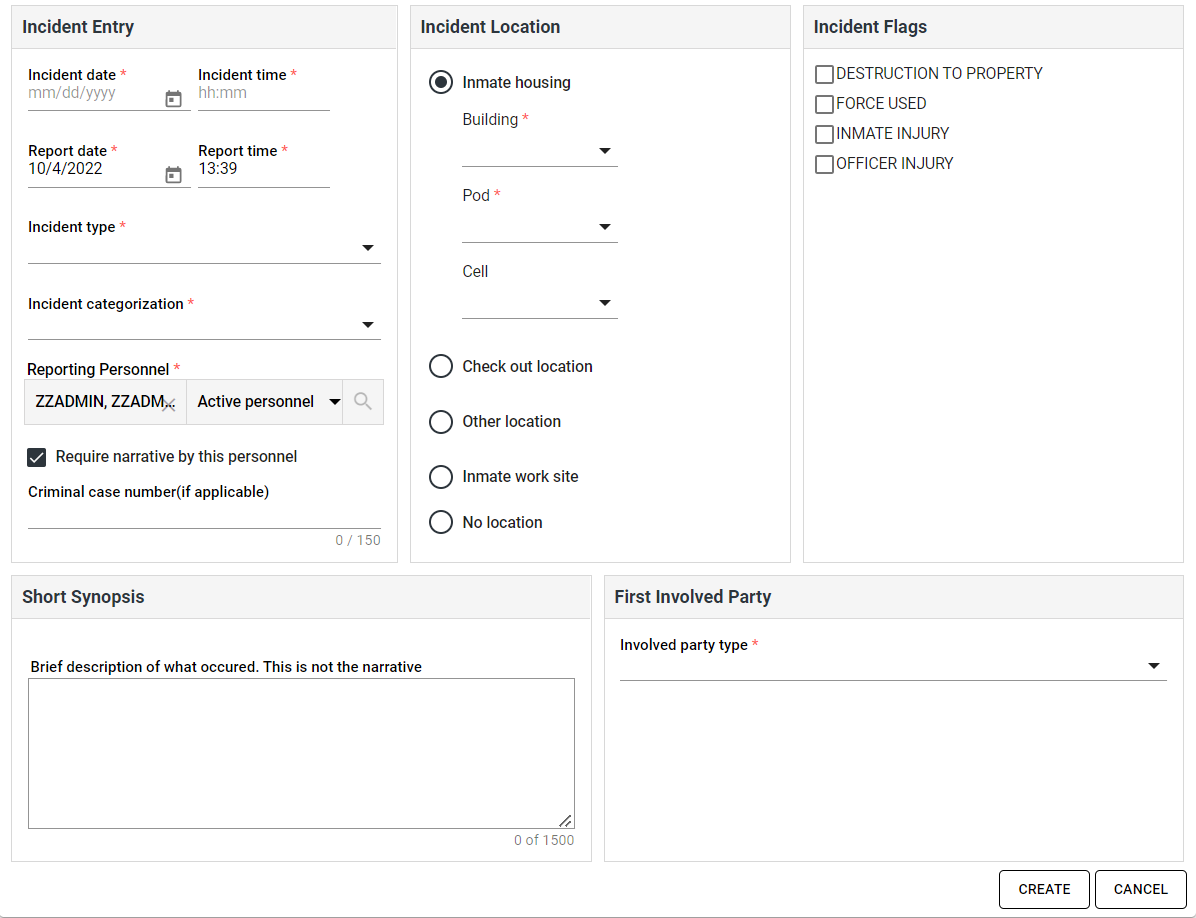
Click Add New Incident. The New Incident page displays.

-
Enter or select the Incident Date and Incident Time the incident occurred or was discovered.
-
Review and, if necessary, update the Report Date and Report Time. The default is the current date and time.
-
Select the Incident Type.
-
Select the Incident Categorization. This value will default if the Incident Types are configured with a default category.
Reporting Personnel, automatically populates.
-
Select or clear the Require Narrative by This Personnel check box. It defaults based on the configuration of the selected Incident Type.
-
(optional) Enter the associated Criminal Case Number.
-
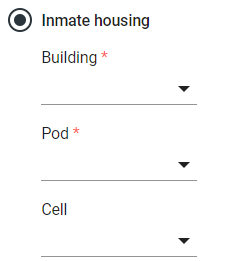
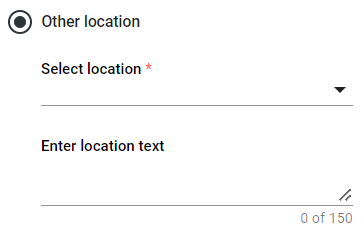
Select the radio button for the type of location where the incident occurred. Each options has a set of related fields.
- Inmate housing: Select the Building, Pod, and (optionally) Cell from the available drop-down lists.

-
Check out location: Select an inmate tracking location from the drop-down list.

-
Other location: Select a location from the list and enter additional details as text.

-
Inmate work site: Select a site from the drop-down list.

-
No location: No additional fields
- Inmate housing: Select the Building, Pod, and (optionally) Cell from the available drop-down lists.
-
Select the check box for each of the Incident Flags that is applicable to the incident. Available flags are defined by the agency and can be used to search for incidents.
-
(optional) Enter a brief summary of the incident as the Short Synopsis. Individuals involved in the incident will enter narratives after initial creation of the incident.
-
Select the Involved Party Type for the first person to be associated with the incident. Additional involved parties can be added after creation of the incident.
-
Select the radio button for the person type and identify the name of the Involved Party. The Involved Party type selected will determine the person type options for identifying the person.
If accessed from the inmate dashboard, the selected inmate is populated by default.
-
Inmate: Use the Inmate Selector to search for and select an inmate.

If Inmate is the only person type configured for the Involved Party Type, Involved Party Categorization Level is also available to identify the inmates level of involvement in the incident.
If the selected inmate has been released or is currently in a different facility, a note display beneath the inmate selector.
-
Personnel: Use the Personnel Selector to search for and select an inmate.

Clear the Require Narrative for this Personnel check box if the person shoud not be required to submit an incident narrative.
-
Other: Enter the name of the person in the available text field.

-
-
Click Create. The Active Incident page for the new incident opens and provides access to features for processing the incident.
-